Building a Raspberry Pi Paper Computer in Your Coding Club
Introduction
Are you looking for a fun and educational project to engage your coding club members? Building a "Raspberry Pi Paper" computer is an exciting endeavor that combines coding, electronics, and crafting.
In this article, we'll guide you through the process of creating a simple yet functional Raspberry Pi-powered paper computer that can be a fantastic hands-on learning experience for middle and high school students.
Materials Needed
Before you start, gather the following materials:
- Raspberry Pi 400
- MicroSD card (8GB or larger)
- LCD screen
- HDMI cable
- USB PowerBank (to make it portable)
- Power supply USB cable
- A piece of flexible cardboard
- Assorted craft supplies (markers, colored paper, glue, scissors, etc.)
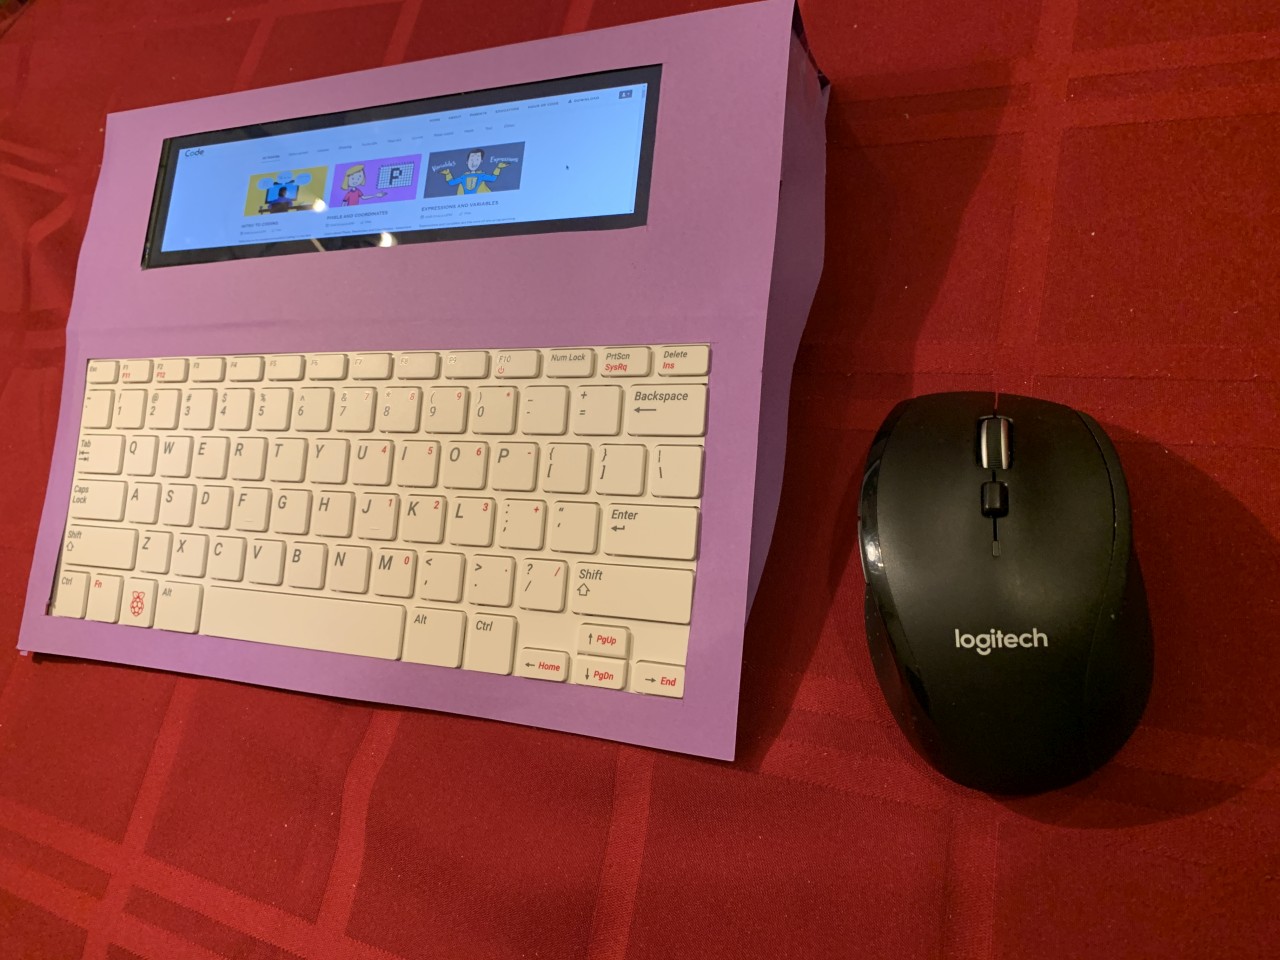
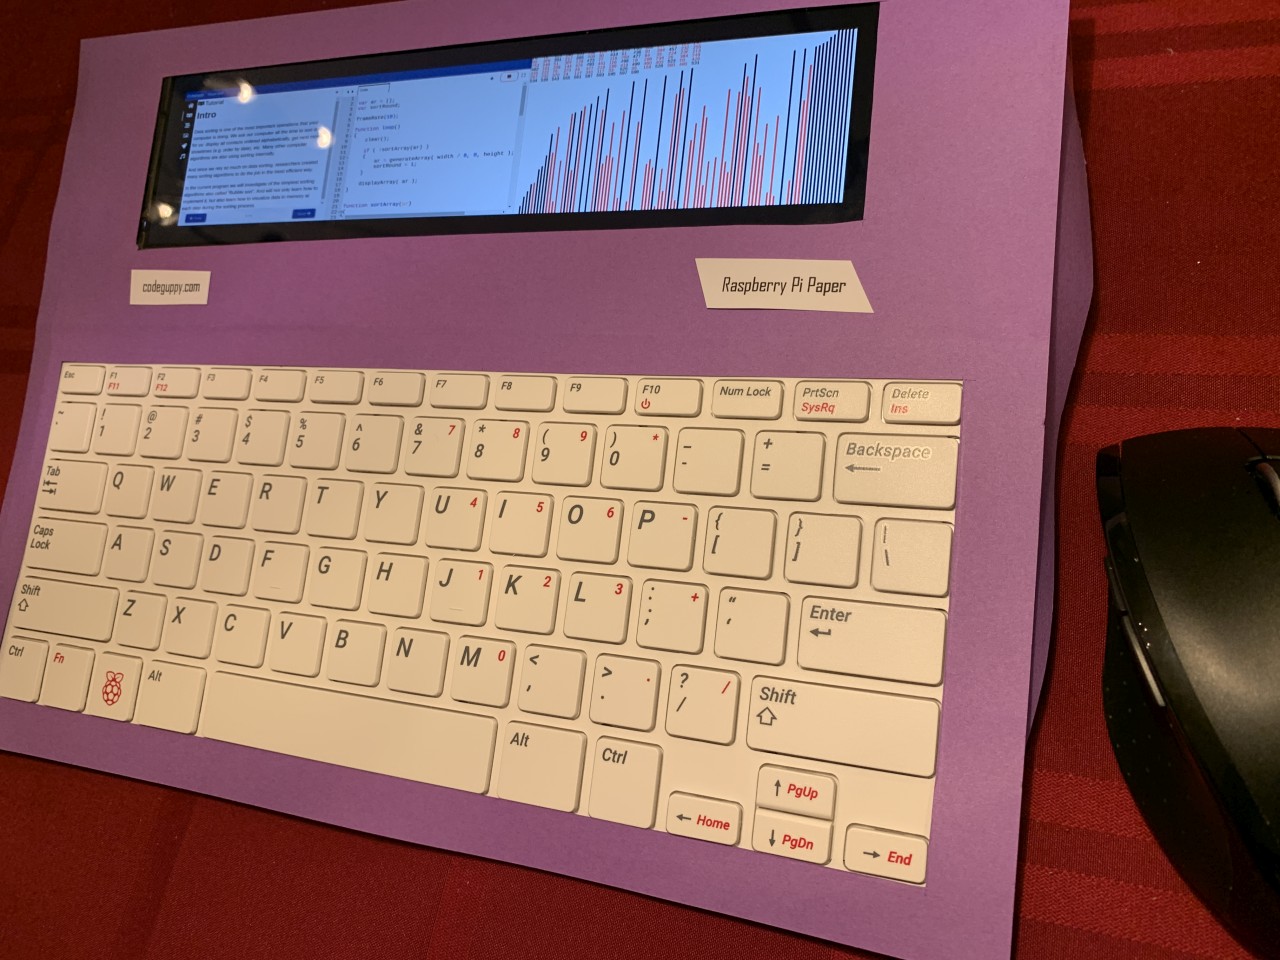
Let's do first a quick test with the case. Connect the LCD panel to the Raspberry Pi 400 computer using the HDMI cable and then power on the entire assembly.
If everthing works, you can start designing a case around these components using thing cardboard.
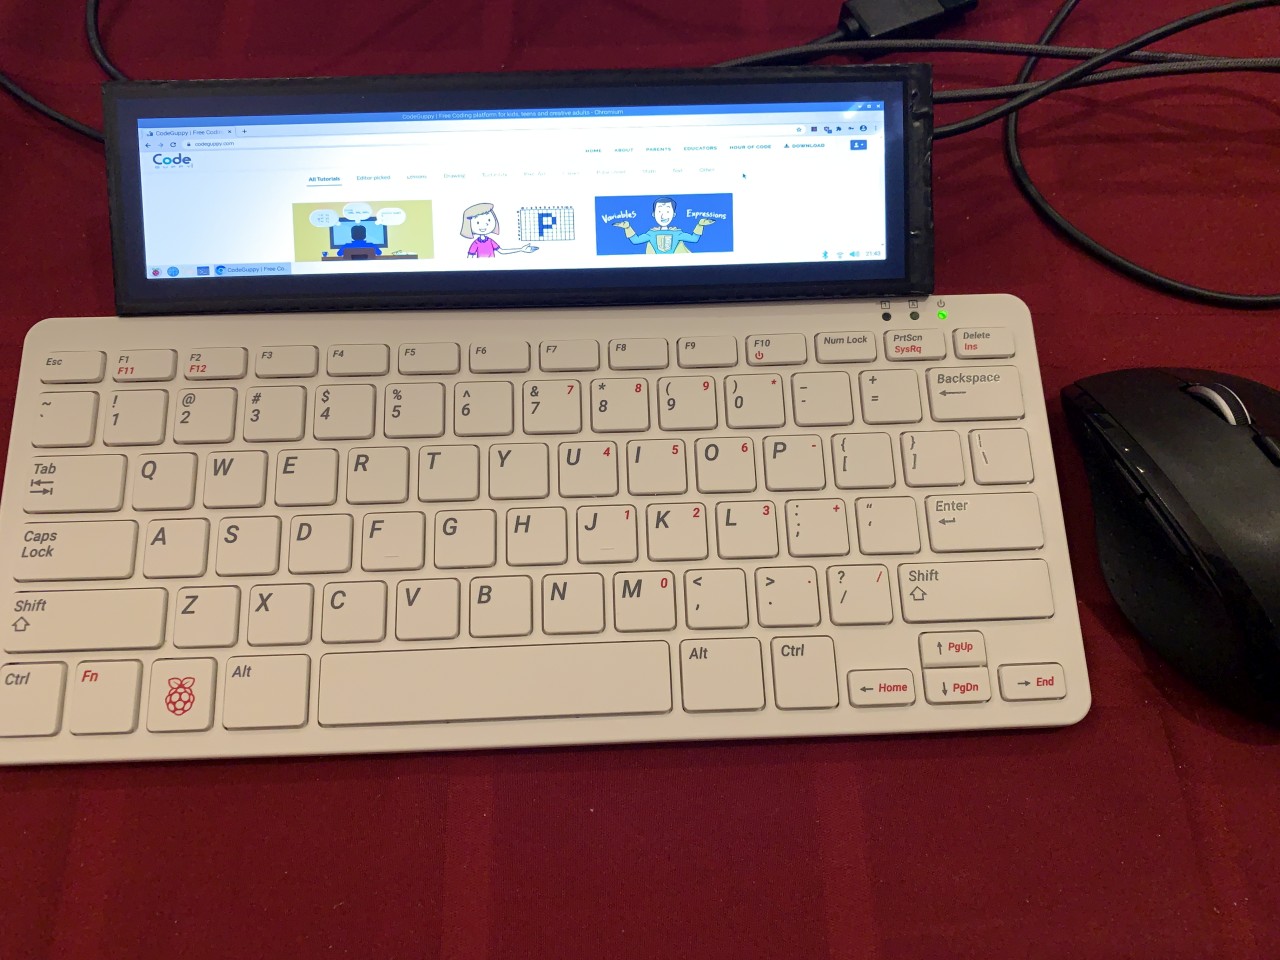
Designing the Paper Computer
- Measure and cut the cardboard into a size that fits the Raspberry Pi and screen comfortably.
- Design the layout of your paper computer. You can use markers, colored paper, and other craft supplies to make it visually appealing.
- Cut holes in the board to accommodate the Raspberry Pi 400 keyboard and screen.
- Attach the Raspberry Pi 400 and screen securely to the board using glue or double-sided tape.
- Connect the screen to the Raspberry Pi 400 using the HTMI cable
- Connect the USB power bank using the USB cable
- Decorate your paper computer with creative elements like labels, and graphics.
- Ensure that all the components are neatly arranged and the cables are organized.

This is the back of the computer. You can use shorter cables for a more esthetic look.
Use a code editor
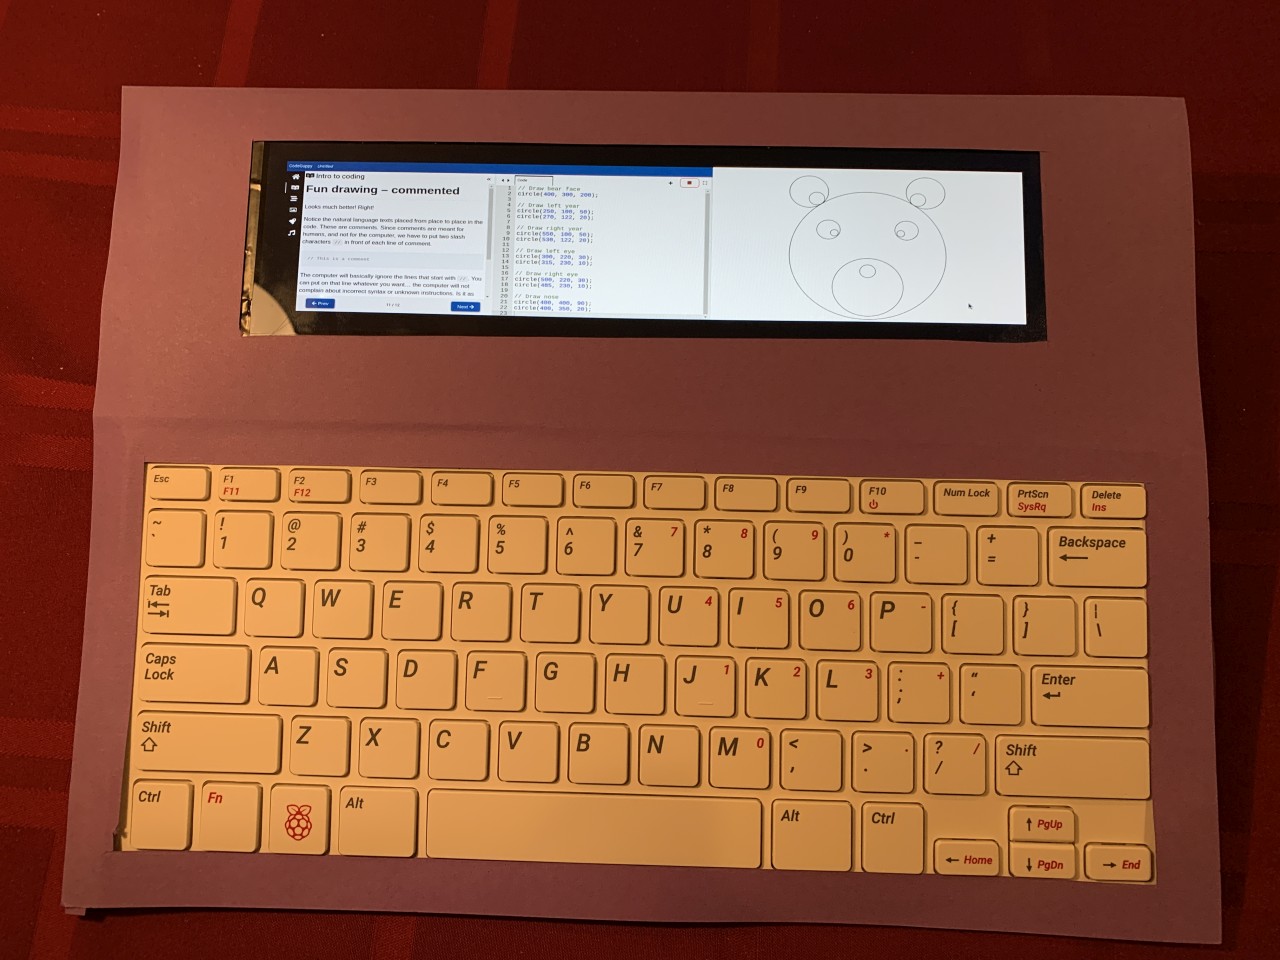
- Open codeguppy.com in a browser on the new Raspberry Pi paper computer
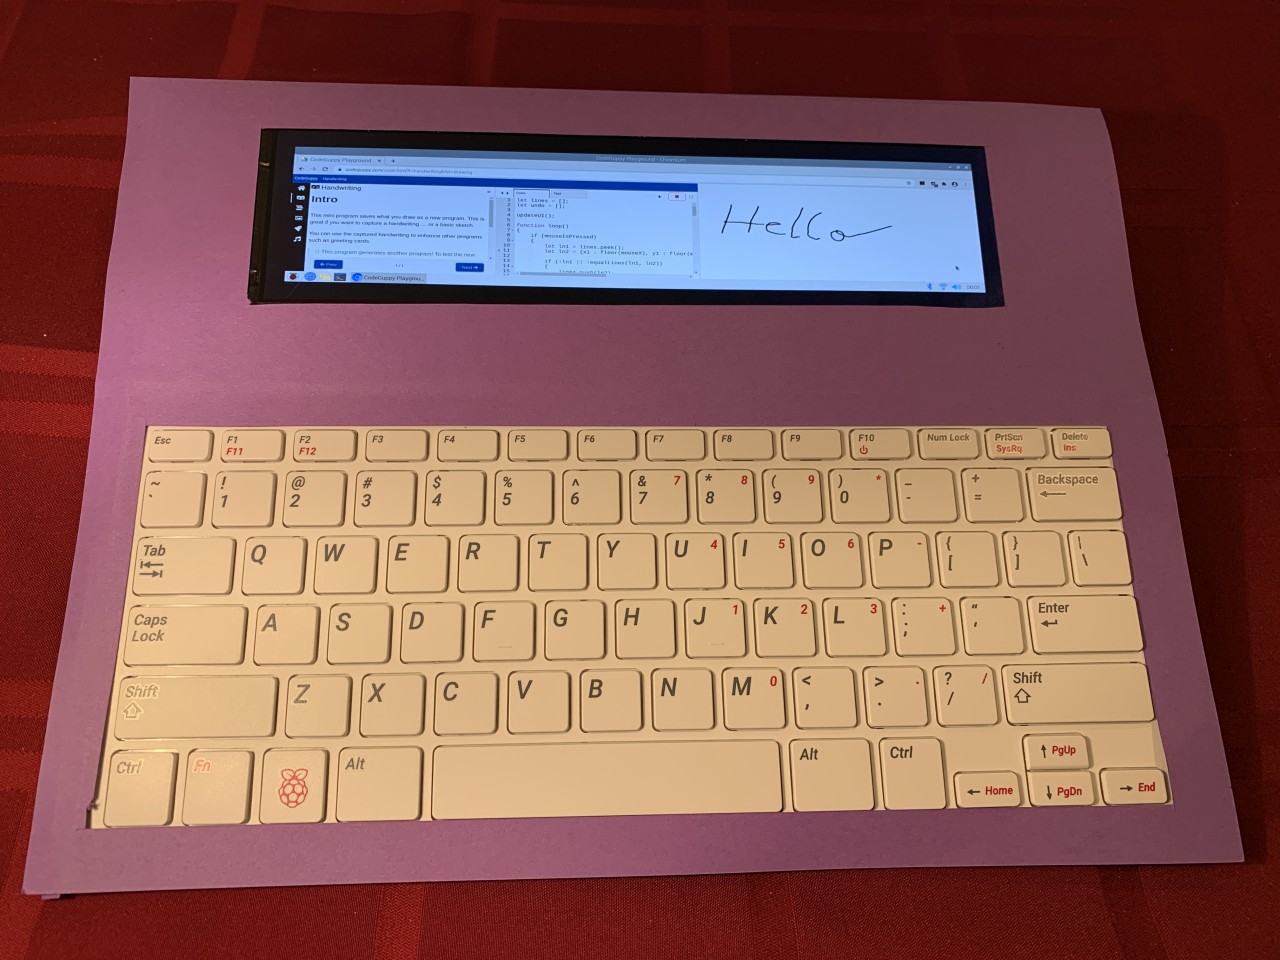
- Code a small program
- Currently the UI of codeguppy.com is not optimized for small and ultrawide screens but also this computer is not for real coding.
Conclusion
Building a "Raspberry Pi Paper" computer in your coding club is a fantastic way to introduce students to coding, electronics, and creative design. So, grab your Raspberry Pi 400 and the other supplies, and start building your own paper computer today!
Read more blog articles Browse JavaScript projectsAbout codeguppy
CodeGuppy is a FREE coding platform for schools and independent learners. If you don't have yet an account with codeguppy.com, you can start by visiting the registration page and sign-up for a free account. Registered users can access tons of fun projects!
Follow @codeguppy on Twitter for coding tips and news about codeguppy platform. For more information, please feel free to contact us.